Capture DSLR-Quality Portraits using GCam’s Portrait Mode
Google Camera (GCam) is known for its advanced image processing capabilities, offering smartphone users the ability to capture professional-quality photos. One of its standout features is Portrait Mode, which creates a beautiful bokeh effect, similar to what you’d expect from a DSLR. This guide will help you maximize GCam’s Portrait Mode for stunning shots.
Why Choose GCam for Portrait Photography?
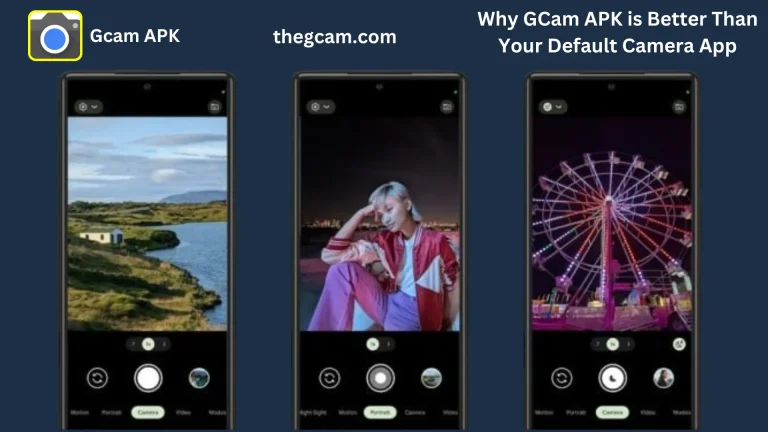
GCam uses advanced computational photography to enhance details, improve dynamic range, and generate realistic background blur. Unlike stock camera apps, GCam provides superior edge detection and a natural depth-of-field effect, making your portraits look professional.
| Step | Description |
| Enable Portrait Mode | Open the GCam app, select Portrait Mode, and turn on HDR+ for better clarity. |
| Optimize Lighting | Use natural light, preferably during golden hour, for the best effect. |
| Maintain the Right Distance | Keep 3 to 5 feet between you and the subject to get the ideal blur effect. |
| Tap to Focus for Sharpness | Tap on the subject’s face to ensure sharp focus and prevent unnecessary blur. |
| Stabilize Your Camera | Use a tripod or stabilize your hand to avoid motion blur, especially in low light. |
| Adjust Depth and Blur | Adjust blur intensity in post-processing (some versions of GCam allow this). |
| Edit for a Professional Look | Use editing apps like Snapseed or Lightroom to fine-tune brightness, contrast, and sharpness. |
Steps to Capture Perfect Portraits Using GCam
Enable Portrait Mode
- Open the GCam app.
- Swipe through modes and select Portrait Mode.
- Ensure HDR+ is enabled for enhanced clarity and better lighting balance.
Optimize Lighting
- Natural light works best for portrait shots.
- Shoot during the golden hour (early morning or late afternoon) for soft, warm lighting.
- Avoid harsh, direct sunlight, which can create unflattering shadows.
Maintain the Right Distance
- Keep about 3 to 5 feet between the subject and the camera.
- This helps GCam detect edges accurately and apply a realistic blur effect.
Tap to Focus for Sharpness
- Always tap on the subject’s face to set focus.
- This ensures sharp details and prevents unnecessary blur.
Keep Your Phone Steady
- Use a tripod or stabilize your hand to prevent motion blur.
- In low light, hold your phone steady for a few extra seconds after clicking the shutter.
Adjust Blur and Depth
- Some GCam versions allow you to adjust the blur intensity after capturing the photo.
- You can fine-tune the effect in Google Photos or third-party editing apps.
Edit for a Professional Look
- Use apps like Snapseed or Lightroom to enhance your portraits.
- Adjust brightness, contrast, and sharpness for a polished finish.
Pro Tips for Better GCam Portraits
Use a Clean Background
A clutter-free background enhances the bokeh effect and directs focus to the subject.
Experiment with Angles
Shooting from different angles can add depth and uniqueness to your portraits.
Avoid Overexposure
Adjust the exposure settings to keep the subject’s skin tones natural and well-lit.
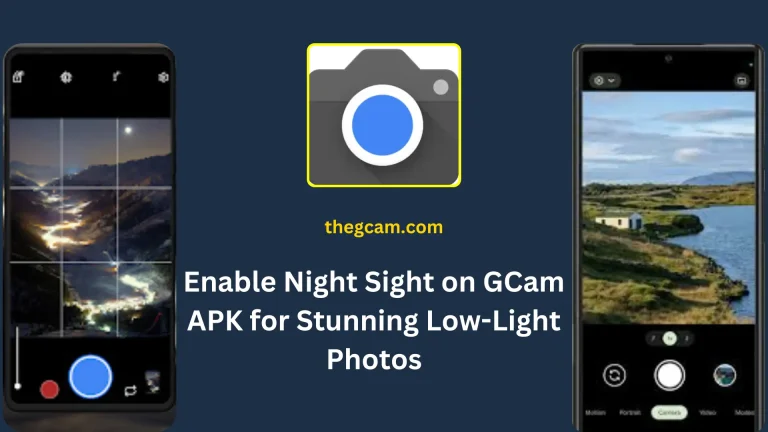
Use Night Sight in Low Light
Night Sight improves sharpness and details, even in low-light conditions.
Try Portrait Mode on Objects
GCam’s Portrait Mode works well not just for people but also for capturing pets, flowers, and other objects with depth.
Frequently Asked Questions
Final Thoughts
GCam’s Portrait Mode is an excellent tool for capturing professional-looking portraits photos with your smartphone. By following these tips, you can enhance your photography and achieve DSLR-like results effortlessly. Start experimenting today and create breathtaking portraits with GCam!